Your Steel Building Specialist
Renegade Steel Building Benefits
There are many ways to configure a pre-engineered steel building. Some things are purely preference and others make a difference in the quality of your building. Below we will explain some of the difference and why we specify these items as the standards for our buildings.
Renegade specs framed openings for all windows
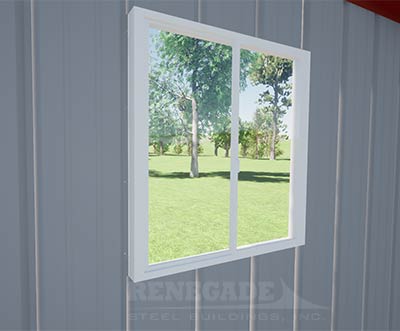
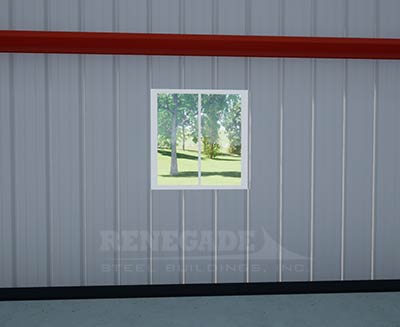
Window just screwed to the wall panel

There are a couple of ways to install a window in a steel building. The "cheapest" way is to just cut an opening and screw the window frame to the wall panel. The problem with this method is that there is nothing to keep the wall panel from flexing and working the screws and seal loose on the window. Essentially the window is just floating in the wall panel with no other support.
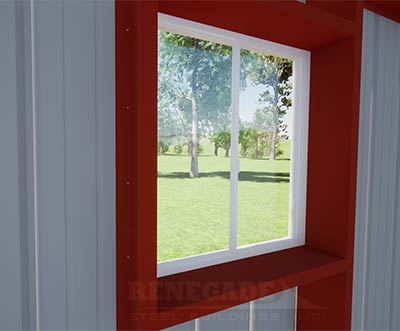
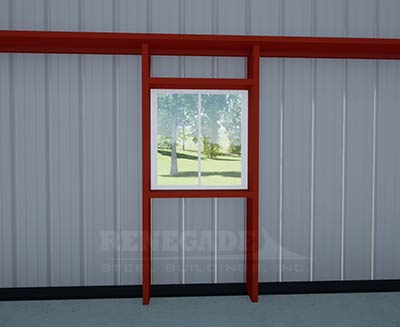
Window secured to framed opening

The best way to install a window in a steel building is to add a framed opening to support the windows and wall. This gives the window frame a solid structure to attach to providing a structurally sound installation. Another benefit of the framed opening is having structure to attach to if you add liner panels or decide to add any kind of wall panels to the inside of your building.
While the window with no frame is certainly a "Cheaper" solution since you aren't paying for any additional steel, we feel the minimal extra cost for a framed opening is well worth the value.
As the old saying goes, "you get what you pay for"!
The difference is clear, we provide you with a quote on a building configured just like we would want if it were our own.
Formed Base Trim
You may be saying to yourself, "what is formed base trim, and why do I care?" The illustrations below will help you see and understand the differences in base trim on a steel building and also why we feel formed base trim is the best option.
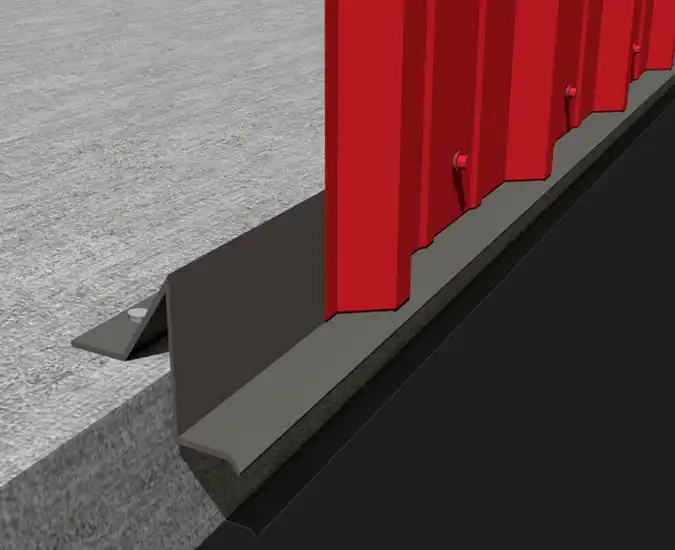
Formed Base Trim
This is a "Premium" trim that we include on all our buildings. The concrete is poured with a squared off edge and the formed base trim is attached around the perimeter. The wall panel then attaches to this 18 gauge 1 piece system.
As you can see in the cutaway portion of the illustration, there is no screw behind the panel. The formed base trim is also a thicker gauge material than regular trim pieces.
At Renegade, we feel that this "premium" base trim is truly the best option for your building! That's why it is standard on all of the buildings we sell.
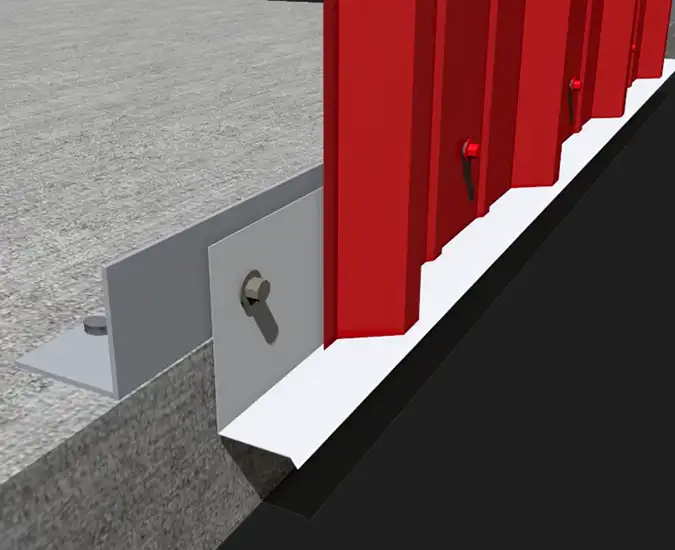
Base Angle
This style is still used today by companies simply looking to give you the lowest number possible. The concrete is poured with a squared off edge with red oxide angle iron attached to it. A second piece of 26 gauge base trim is attached to the angle iron. The wall panel then attaches to this 2 piece system.
While this method works OK, it takes additional labor to install and care must be taken to place the trim screws in the proper position or else the panel may be pushed out. In the cutaway portion of the illustration, there is a screw behind the panel. There is also the possibility that the panel lap screw could hit the mounting screw.

Concrete Notch
This is the old style of finishing the bottom of a building where you would create a notch in the concrete for the panel to rest against. Your concrete contractor would create a 1.5" x 1.5" "notch" at the outside edge all the way around your concrete pad. Red oxide Angle Iron is attached to the concrete and the panel is secured to the angle.
This method required more work and cost in your concrete. It also ended up being a prime location for rust to corrode your building as often times the notch would hold water against the bottom of the panel.
"Long Life" Screws
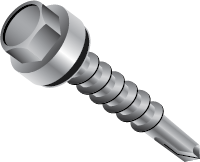 You would think that everybody would use a screw that doesn't scratch the finish and supports your warranty, but for some reason they don't. Renegade Steel Buildings only uses "Long Life" screws for both the roof and walls of all our buildings.
The "Long Life" self drilling screws are cast aluminum zinc fasteners with an EPDM sealing washer which help keep your building's finish looking great!
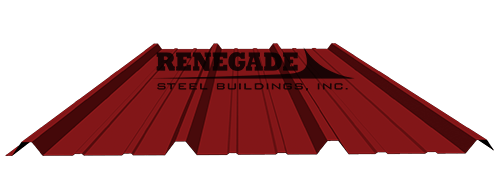
PBR Panel
(Standard Panel) 26 gauge high tensil strength steel featuring a classic style.

Bearing Rib Panel
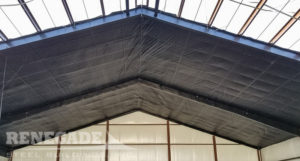
Renegade uses the “PBR” panel standard on the roof and walls of all our buildings. The purlin bearing rib feature gives the system rigidity and complete weathertightness. Other standard panel profiles are available and all have the purlin bearing system.
Our competitors often use the standard panel on the roof and walls. Not having a “purlin bearing rib”, this system creates a void in the lap thus making it less rigid and less weathertight.
Energy Conservation Codes
 While insulation is not something we have a minimum spec for, we do try hard to stay up on the latest information regarding states that require buildings to meet their adopted Energy Conservation Codes. Many companies will just quote you 4" roof and wall insulation just to get the lowest number in front of you. While this may make their price look good, you may not be able to get a C.O. for your building without additional costs.
We would rather advise our customers to seriously consider not only what their local code requires but also the long term HVAC cost savings that result from High R-value insulation.
We don't just want to sell you a building, we would like to help you with your building solution.
Framed opening with no cover
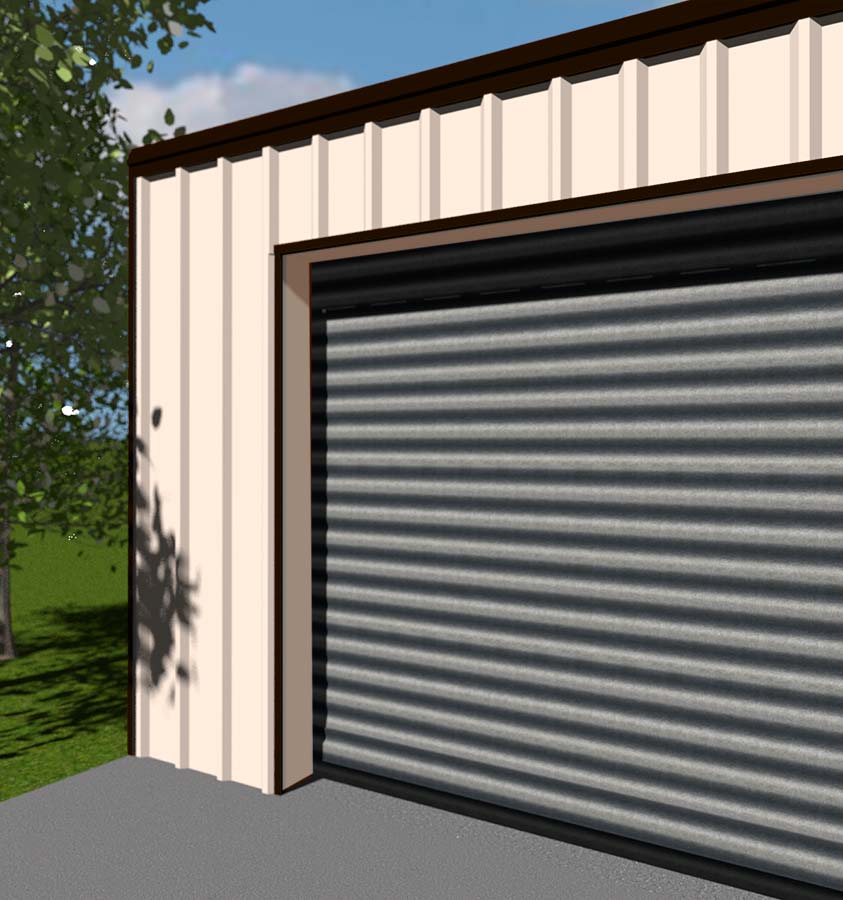
Framed opening painted
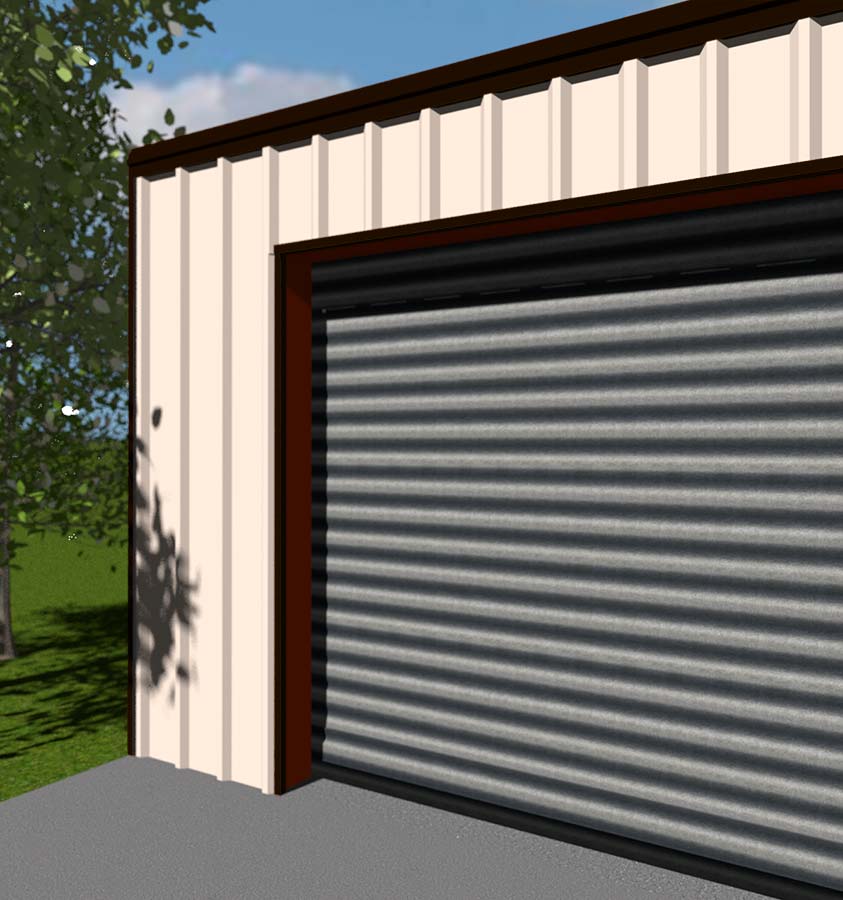
Framed Opening Cover Trim
There is one option that we don't like to sell. You may see this added by some other companies, but we feel that it's an option that will eventually cause you problems in the future.
The technical term for it is "Full Cover Trim". It's a thin piece of painted metal that covers the red iron in a framed opening such as a roll up door. While it looks good at first, experience tells us that a some point it may get scratched or even bent or dented. When that happens, it becomes and expensive piece to replace and it's time consuming as well. The expense comes from having to ship a long piece of trim making the cost to ship more than the cost of the trim. Secondly, to replace this trim, you will have to remove the panels around it.
We have found the best solution to be simply to paint the red iron framing to match your building. If it gets scratched, no problem, just paint it again.
Quick Quote